Things you need to replace shower faucet
Your tool bag must have these simple tools:
- Screwdriver
- Pliers
- Pipe wrench
How to replace or install a shower faucet?
Single handle, two handle, and three handle shower faucets basically function in a similar way but have certain things different that need to be addressed differently. Be sure that before starting, you have turned the water off.
Single handle faucet
In single-handle faucets, the valve cartridge is the main root of problems. The valve cartridge is a cylindrical device that uses an O-ring to control the flow of water.
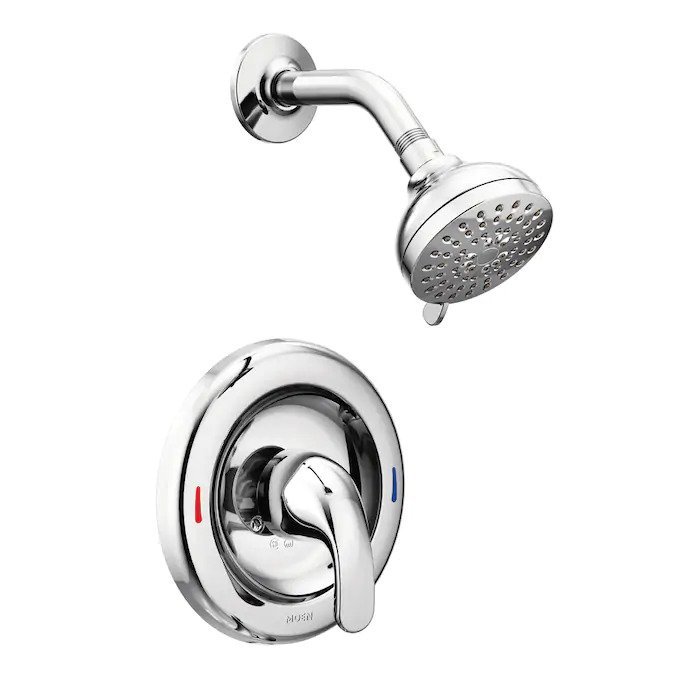
When you have to replace a single handle faucet, locate and pull the set screw that must be present in front of the unit. You have to access the cartridge to check the O-ring. So, use a screwdriver and remove the clips holding the cartridge case but be careful not to cut the pipe.
Take a plier and gently pull the cartridge out. If you already have a new cartridge insert it at the place but make sure it is compatible with your shower faucet. It would be great if you take the old cartridge with you and buy a copy to prevent any mismatch.
When you have inserted it in the right position, place back the retaining clips, and assemble the faucet as you removed. Now, turn the water on and check its function.
Two-handle shower faucet
In the double handle faucet, stems are the main controllers of water. These stems are connected to the handles and have rubber seals to properly control the flow of water. Any malfunction in the shower faucet may come from stems and it is the easiest way to fix the problem.
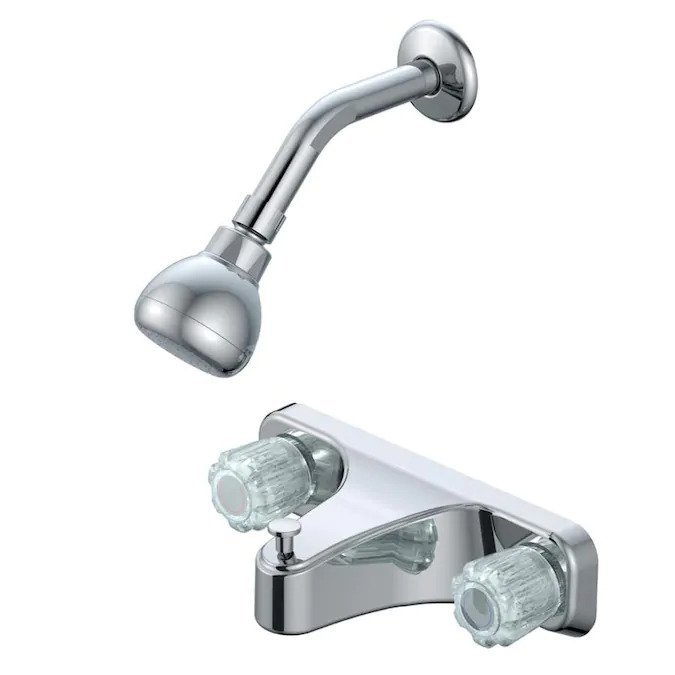
First, remove the handle caps and take the handle screws by pulling with pliers. When screws are removes, again pick a plier and rotate the stem counterclockwise. Here you will see a screw at the end of the stem, remove it too, and install a new washer. Be sure that the washer is an exact match to set the faucet. Now locate the O-ring and replace it with a new one. Before replacing a new ring, swap it in petroleum jelly and then place it in the stem. Screw in the new stem and place the handles back. Reconnect water connections and check everything will be fine.
Multifunctional three handle faucet
If you have three handle faucets, it must be performing multifunction like temperature regulation and diversions. Temperature stems are separate handles for cold and hot water while the third handle is the diverter stem.
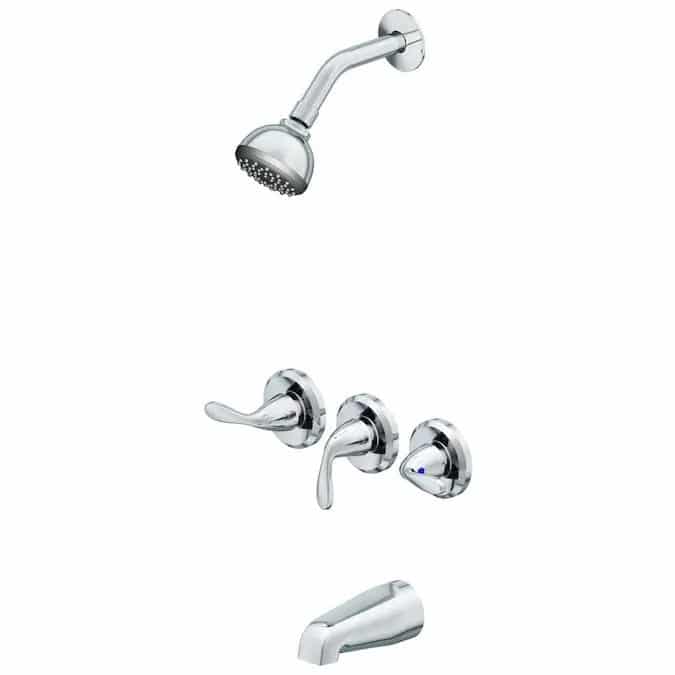
If the problem is with temperature stems, you can simply fix it the same way as of two-handle faucet. You have to remove the handle and screws and turn the stems and turn counterclockwise. You can also apply Teflon tape at the base to make a proper seal and reassemble the unit.
But if the diverter stem is making your shower faucet faulty, you have to fix the third handle. Remove the diverter valve and replace a new one by following these steps.
Remove the cap and handle of the faucet, and gently remove the sleeve. Take a socket wrench, and remove the old valve. You must have a new valve. Now apply Teflon tape on the threads of new valves to make a stronger grip and insert a new diverter. Make it tight but do not overtight as it may lose the grip if you will do so. When replacements are done, place the handle and turn the water on to check the leakage. When you are fully satisfied that the respective valves are performing their function, you are done. Now you can pack your bag, take shower, and have a nap.

 What will you feel when you go to shower before power nap, turn the faucet on, and find no water? Definitely, your restlessness will double until finding any solution. If your shower is also playing such games, you have to check the shower faucet.
 – Reviews & Buying Guide")