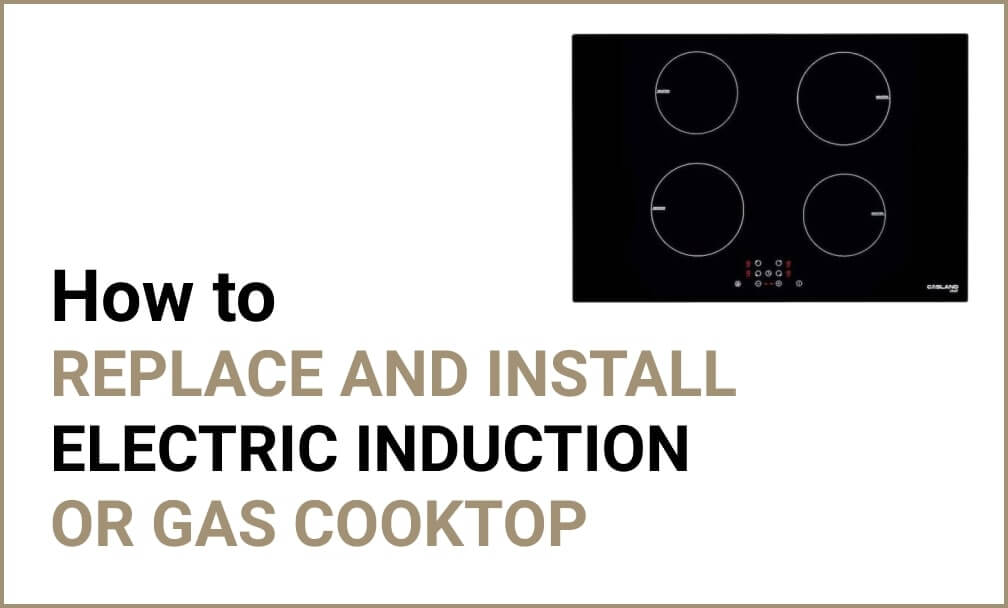
How to Replace and Install an Electric, Induction, and Gas Cooktop
Last Updated: Cooktops in general are a great way to fully customize your kitchen area, and maximize the efficiency of your kitchen. They can be incredibly easy to clean, they take up less overall space than single stove / ovens, and they can be placed anywhere in your counter space without being tied to the bulky oven.
Cooktops are a great addition to any kitchen, and should always be considered when planning a kitchen remodel. What’s more, they are actually incredibly easy to install yourself once you know the basic process, which is what we will be discussing today. If you have settled on a cooktop for your kitchen, no matter what kind, here is how you can install it in just a few easy steps.
Electric cooktops are extremely common due to their ability to save on energy and perform relatively safely. They don’t require any gas connections which might pose a hazard, and they heat up relatively quickly and evenly. Installing them is almost as simple as putting them into the counter, and plugging them in.
The process
The first step is to prepare the surface area of the countertop. If you already have a cooktop, you should begin by shutting the power off to the cooktop through your circuit breaker. Then start breaking the caulking seal and removing the old cooktop carefully.
Once you have fully removed the cold cooktop, you can begin preparing the surface by removing all of the old caulking and smoothing out the edges with a gentle sanding or trimming to ensure the current cutout is the right size for the new cooktop.
If you don’t already have a cooktop, you will need to prepare the area of the countertop for one. This will involve carefully measuring the dimensions of the cooktop, and cutting the proper sized hole in the countertop to house it. The below space should have plenty of room for the proper wiring, and about 1-1.5” subtracted from the lip measurements so that the cooktop has a surface to sit on properly.
With the new cooktop, make sure you have detached all removable pieces from the unit prior to placing it in the space. This will make maneuvering easier.
Install your spring clips or mounting brackets that come with the cooktop.
Drop the cooktop into place, and connect the wiring to the power supply. Make sure to note the proper coloring sequences for wiring:
Red = hot wires.
Green = grounding wires.
White = neutral wires.
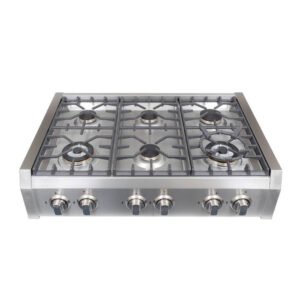
How to Install a Gas Cooktop
Gas cooktops are a tried and true style of the cooktop. They are popular due to their traditional build, and ability to cook incredibly fast and evenly. Many professional chefs love to work with an open flame, and gas cooktops make that possible a home. For the most part, installing a gas cooktop is nearly the same process as installing an electric cooktop. However, there are a few minor differences.
The process
First you should establish if you have gas hookups for the cooktop. A gas cooktop needs gas to operate, and if you do not have the hookups in place you will need to hire a professional to come and install the gas line.
If you already have a gas cooktop in place, you will need to safely remove it from the counter.
Turn off the gas using the control valve, and unplug the electricity from the cooktop.
Turn on all of your burners for a few seconds to ensure that the gas lines are cleared.
Disconnect the gas line attached to the cooktop from the connection on the wall.
Make sure that all connecting brackets holding the old cooktop in place are disconnected, and remove the cooktop gently.
Connect the gas hose to the new cooktop, and install any mounting springs or brackets that came with the new cooktop. Make sure to apply sealant to the connecting areas of the piping to prevent future gas leaks.
Gently slide the cooktop into place, and connect the gas hose to the gas connection in the wall. Make sure to apply sealant at this connection as well. Once dried, turn on the gas valves.
Apply a simple solution of soap and water to the connections, and make sure that there are no bubbles. These are indications of a gas leak.
Plug the power cable into the socket, and turn on your cooktop to make sure the burners light and everything is in working order.
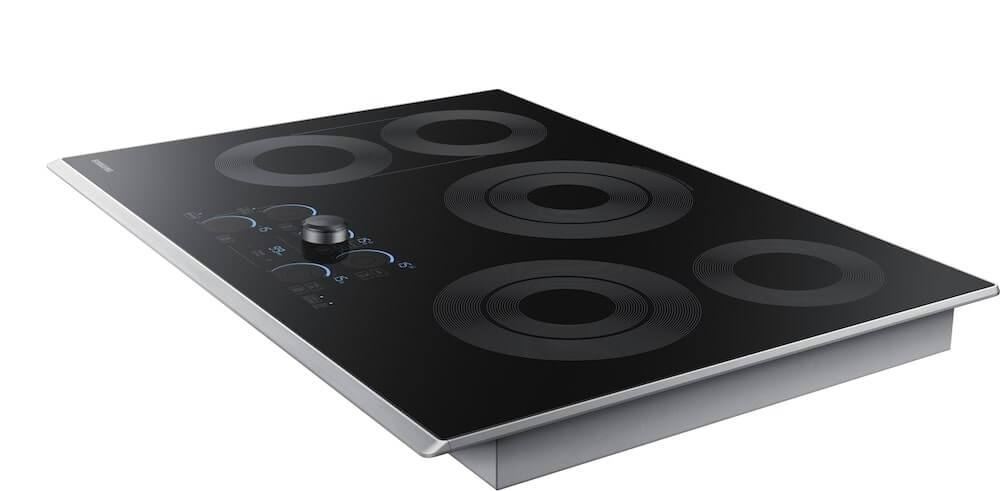
How to Install an Induction Cooktop
Induction cooktops are popular in modern kitchens. This is because they are extremely safe when compared to electric or gas, and they can heat up pots and pans strikingly fast. Induction heating utilizes magnetic fields, as opposed to heating coils or open flame. This makes them highly efficient, and great for safety with children.
The process of how to install an induction cooktop is virtually identical to the process of installing an electric cooktop. You simply need to remember to follow your safety measures and ensure that no electricity is flowing to the connecting area until you have fully installed and connected your cooktop. The wiring for the induction cooktop is not special to induction cooktops.
By simply following the above steps for the electric cooktop, you can have an induction cooktop installed and ready to go in no time!
Final Quick Tips
Make sure to measure at least three times before cutting, or installing your cooktop. Having the proper measurements is going to be the key to success. Measure the cooktop and the cutting area at least three times to be sure you are 100% accurate.
No matter what, always cut off all power and gas to the area before beginning the process. Dealing with electrical wiring or gas connections can be dangerous, and should be treated with caution.
Make sure to allow proper clearances below and around the cooktop. The cooktop itself will get hot, and thus needs space to keep cool and to avoid damaging surrounding items. Make sure to have at minimum 12” between the shelving below the cooktop and the bottom of the cooktop itself.

 Cooktops in general are a great way to fully customize your kitchen area, and maximize the efficiency of your kitchen. They can be incredibly easy to clean, they take up less overall space than single stove / ovens, and they can be placed anywhere in your counter space without being tied to the bulky oven.
: Reviews and Buying Guide")
 – Reviews & Buying Guide")
 Gas cooktops are a tried and true style of the cooktop. They are popular due to their traditional build, and ability to cook incredibly fast and evenly. Many professional chefs love to work with an open flame, and gas cooktops make that possible a home. For the most part, installing a gas cooktop is nearly the same process as installing an electric cooktop. However, there are a few minor differences.